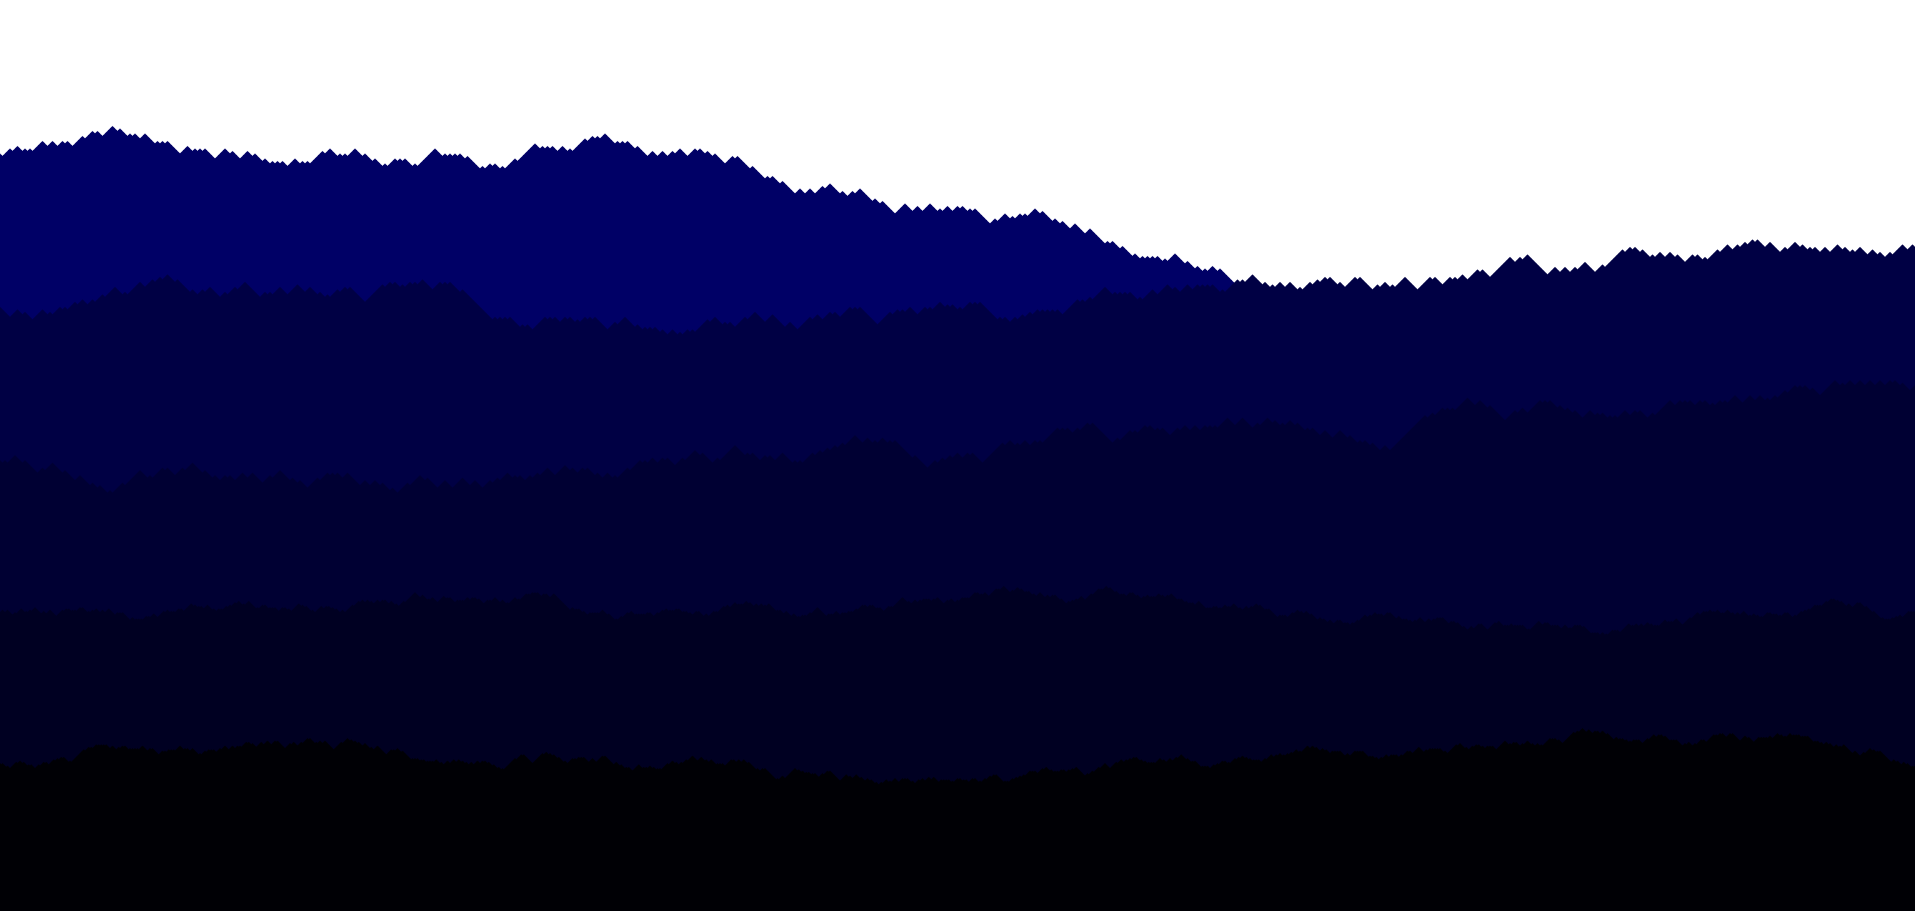
Recently I’ve been playing with drawing stuff in web pages. Little procedurally generated toys like these brambles or these mountain ranges I thought I’d write up a little guide on what I do when I build these and how I think about the problems.
Scaffolding
To get started we need something to display stuff. Web browsers make this easy so lets make a web page with an SVG in it. Sure we could use python or rust or almost anything to generate SVGs but for this I’m going to use javascript and html.
Create a file somewhere. Tradition and webserver ease means it should probably be called index.html unless you’ve got more things in your web site that you want to wrap around this.
Inside this file we want to make the simplest svg we can get away with.
<!DOCTYPE html>
<html>
<head>
    <title>Mountains</title>
</head>
<body style="margin:0; padding:0; background-color: black;">
    <svg
        id="image_root"
        version="1.1"
        xmlns="http://www.w3.org/2000/svg"
        xmlns:svg="http://www.w3.org/2000/svg"
        stroke="none"
        fill="none"
        fill-opacity="1"
    >
    </svg>
</body>
</html>
This has the basic html we need. Set the doc type so browsers use modern html and javascript not the old magics. We give the page a title. Strictly speaking we don’t need to do this but its nice. Then we have the body with an svg tag inside it.
We set some styles on the body, the first gets rid of the padding and margin that are there by default so the image we create can run all the way to the edge of the screen. The second sets the background colour. Yes we could use a style tag in the header but this is literally the only css we are going to need so it might as well go here.
On the svg tag we set the basic attributes to turn it into an svg, give it an id so we can find it easily, and set the stroke and fill styles. Both are set to none, so they will not display unless we set something else later. If we wanted we could set default line or fill styles here but each element of the thing I’ll be making will have a different colour so it’ll need updating later any way.
Now we have page, we want to see how it looks. Because this is a single html file we can probably get away with just opening the file by clicking on it or using open. However if in the future we want to include another file next to it then we will need some kind of server. Thankfully python provides a nice simple built in http server that you can spawn to host everything in a folder.
python3 -m http.server 8000
This will start a web server for you at http://localhost:8000 with the content of what ever folder you started it in. It shouldn’t be used for real deployments but it works well enough for development.
Size of the screen and view ports
SVGs kind of try to figure out their size based on whats in them if you don’t tell them how big they should be. Later we’ll also need to know the size of the image so that we can lay things out as we want.
We’ll set our image to the same size as the window, and record it in a global for later. Yes yes, globals are bad. You know why they are bad? Because of namespace pollution and multiple things accessing them. This thing’s a single file with less than 200 lines of code. You know what? I think we can handle this. If this gets out of hand we can refactor it later.
width = window.innerWidth || document.documentElement.clientWidth || document.body.clientWidth;
height = window.innerHeight || document.documentElement.clientHeight || document.body.clientHeight;

const svgEl = document.getElementById("image_root");
svgEl.width = width;
svgEl.height = height;
svgEl.setAttribute("viewBox", "0 0 "+width+" "+height);
SVG Polygons
Ok where were we? Trying to draw fun stuff? Right.
Lets draw a box. We can make it more complicated later. Once we can do this we can play around with algorithms and do fun stuff, but we need to be able to see what we are doing first.
Lets start with a simple box.
const box = [[0,0], [10, 0], [10, 10], [0, 10]]
An array of arrays representing a list of x, y points that draw a 10 unit square. SVGs can have almost any distance unit as their size, in our case we are drawing stuff on the screen so we probably want pixels eventually. So lets say these are pixels.
With SVGs we want a path element. Paths are more generic than lines, but they let us do all sorts of stuff with curves too. We don’t care about that for now. We just need to draw straight lines between the points we defined above.
The path spec defines movement types. There are upper and lower case versions that depend on what reference frame they move on. Upper case ones move relative to the image origin, lower case move relative to the starting point. For what we need now we want M for move and L for line. So we end up with a
space separated list of movement commands, which are also space separated, yeah svg paths are a bit weird. Putting a Z on the end of the string will make it draw a line back to the first point. You can do this manually, but it makes the algorithm a little simpler to use the features it provides.
E.G
M0 0 L10 0 L10 10 L0 10 Z
We can build this using a map function from our original string
let pathStr = points
  .map(function (point, index) {
    if (index == 0) {
      return "M" + point[0] + " " + point[1];
    }
    return "L" + point[0] + " " + point[1];
  })
  .join(" ") + "Z";
And with the path string we can create the path element
let path = document.createElementNS(svgNS, "path");
path.setAttribute("id", "line-" + id);
path.setAttribute("stroke", "none");
path.setAttribute("fill", "black");
path.setAttribute("d", pathStr);
svgEl.appendChild(path);
We should now have a black square on the svg when we load the page.
Random numbers
A slight detour, we are going to need some random numbers. We don’t need super random cryptographic random numbers here. We’re making art, not dealing with the safety of boeing whistle blowers. If we were doing this on paper, a bunch of dice would be fine. In javascript the Math.random() function is our dice. Except our dice give us a random number between 0 and 1 (but never actually 1)
>> Math.random()
0.2725780965518224
>> Math.random()
0.05027598093152419
>> Math.random()
0.6247010986076533
>> Math.random()
0.3988789395544631
Numbers between 0 and 1 are not all that useful a lot of the time. So we’re going to have to do some math to get them into the ranges we need.
To pick a random number between a and b where b is bigger, we can add and multiply
>> (Math.random() * (b-a)) + a
Get the range, multiply by a random number to give us 0 to the gap between a and b then add on a to shift that range up to where we want.
But that’s still a floating point number, it has many decimal points.
Bring in the Math.floor(n) function. This takes floating point number n and chops off the decimal points. Or rounds down.
This is really useful for picking an entry from an array for instance.
>>> myArray[Math.floor(Math.random() * myArray.length)]
Note that a in the formula earlier is 0 here so it vanishes in a puff of simplification.
Making wiggly lines
So now we can make a wiggly line across the top of our square to make a mountain range. We can do this by stepping across the width of our page and deciding on a y coord based on a random number. But just picking a random number for the height at each step is going to make a line that is way way too spiky. We’re trying to make mountains not a weird needle field.
Instead we can use a random number to decide if the next point should be above or below the previous point.
let result = [];
let prevY = height/2;
for (let x = 0; x < width; x++) {
  let y = prevY + 1;
  let r = Math.random();
  if (r < 0.5) {
    y = prevY - 1;
  }

  result.push([x, y]);
  prevY = y;
}
This will draw a wiggly line that will drift with the ups and downs of the random number generator rather than jumping long distances. You can make the choices more complex, for instance if its between 0.4 and 0.6 is stays flat, or maybe some ranges it jumps by 2 rather than one.
Now its a case of repeating this and making a gradient of them down the height of the screen.
Licensing
Giving stuff like this a license isn’t going to do much to the llm scrapers, they really don’t care and I don’t have the funds to out lawyer them. However giving your project something like the Filthy Human Hands license or the Hippocratic license is a good signal to other humans that you care that this is all a bit shit.
Hosting
This comes out with a single static html file, or a small number of them depending on how you structure it, this should be easy to host basically anywhere that allows you to upload your own html. Fun thing though one of the biggest llm advocates also provides free web hosting with github pages. So you can make an llm company deal with the ddos that is all the other llm companies. It’s going to get scraped any way, might as well make them deal with it.
fin
You can see the code for both projects listed at the beginning by looking at the source of the pages. Neither is particularly complex, and intentionally neither is minified or packed in any way. There is no build script or node dependencies. Raw html, svg, and javascript is unreasonably effective for making silly art things.
Go make silly art things.
And when you do tell me about it, so I can see more silly art things.
The world needs more silly art.